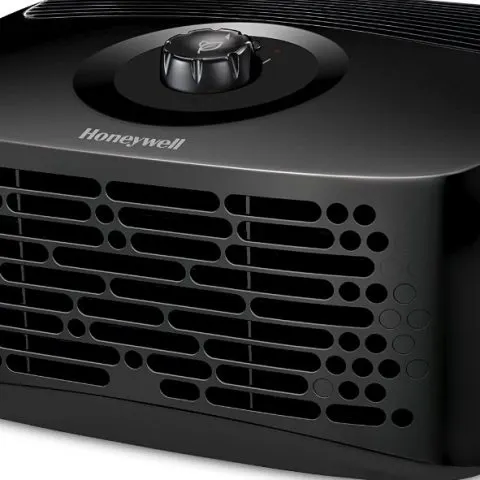
Honeywell air purifiers are the best in purifying your air at home. These devices can remove smoke and dust from your home, leaving clean and fresh air. Most of these devices come with two to four filters for efficient cleaning of the air. But with time, the filters require cleaning to ensure they work efficiently and prevent releasing the dirt into the air. That’s why this article gives you the best tips on how to clean your air purifier when it gets dirty.
How Often Should You Clean Air Purifier?
It’s advisable to clean the Honeywell pre-filter once a month. But for a home prone to dust, the air purifier requires frequent cleaning. For best results while cleaning, ensure you heed the following tips;
- Use a dry fabric to wipe the external surfaces of the unit
- Avoid using any solution, chemical wax polish, or water to clean the permanent filters.
- Use water and soap when the air purifier comes with a washable pre-filter.
- Avoid scraping the filter with sharp objects to prevent damage.
- Before installing the filter, ensure it’s 100% dry.
When you are not using the purifier for more than a month, you should remove the HEPA filter and store it. Wrap the True-HEPA in airtight plastic bags and keep it well as per your manual instructions.
Signs that its Time to Clean Your Honeywell Air Purifier
You should constantly monitor your air purifier to ensure its working effectively. While inspecting the filter, check for any discoloration or black spots. This discoloration indicates the filter is dirty and requires cleaning. If the dirt is too much, you need to replace the filter.
A dirty filter may become the source of pollution and blow bacteria, molds, particulates back to your house. Also, the filters need to be white when clean; if you notice the greyish color, they are dirty.
What Required to Clean Air Purifier
- Soft Cloth
- Water
- Vacuum Cleaner
- Mild soap
Cleaning Pre-filter
- First, turn off the purifier and disconnect it from power.
- Open up the air purifier tower cap. Gently unscrew the fastener and check whether the velcro is loose. After detaching it, remove the filters that require cleaning and replacement.
- Check the condition of the filter. For a pre-filter, it only requires light washing.
- Pull out the air filter from behind the top grill/ cover.
- Shake the screen in an open area to remove dust particles.
- Check if the pre-filter is worn out; if yes, you need to purchase a replacement.
- For a washable filter, use warm water and mild soap. Submerge the filter in warm water rub it gently with a soft cloth.
- For a non-washable filter, use a damp cloth to pat it and remove the dust.
- Place the filter outside on a clean surface to dry. After drying the filters, vacuum the whole unit, even the interior parts, to shrug off excess dirt.
- If the filter is worn out or one with excess dirty, you should replace it. Purchase a new filter and install it in the correct position. Observe the arrows in place to ensure it faces the right angle. Strap the velcro and tighten all screws and then close the tower cap.
- Examine if the cleaner is running after installing the new filter.
Cleaning Exterior Unit
Vacuum the outside surface of the cleaner while paying attention to the vents. This step will help remove excess dirt that will be coming out of the cleaner. You can also consider wiping the surface with a damp rag. To clean the interior section, remove all the filters and wipe it with a clean rug.
Other Filters
Always keep inspecting the cleaner to check if the filters are in good condition. If you notice a change in color for the HEPA filter or carbon, it’s best to vacuum them. The HEPA filter requires replacement every 12 to 18 months and has a lifespan of 3 years. The carbon filter needs replacement after 3 to 6 months. For clean, fresh air in your home, ensure the filters are free from the clog and any discoloration. Clean them as frequently as required depending on how many hours the cleaner works.
Check this too: Do Air Purifiers Really Help with Mold?
Conclusion
When cleaning your filters, ensure you follow the stipulated guidelines in the manual. Only clean the washable pre-filter and replace it when worn out. Again, when cleaning the filter, avoid using bleach, strong detergents as they can cause damage. Remember, only the washable filters require washing with water and mild soap.

